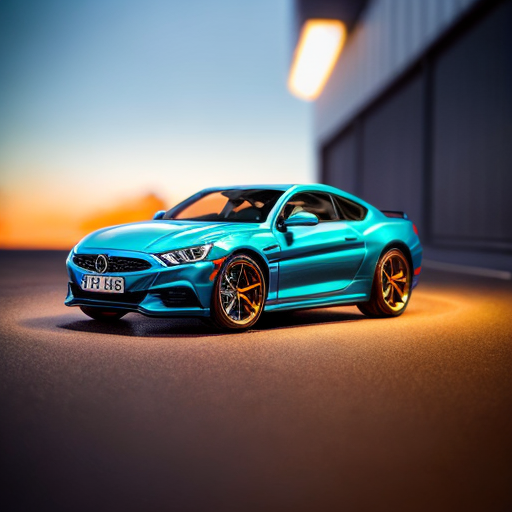
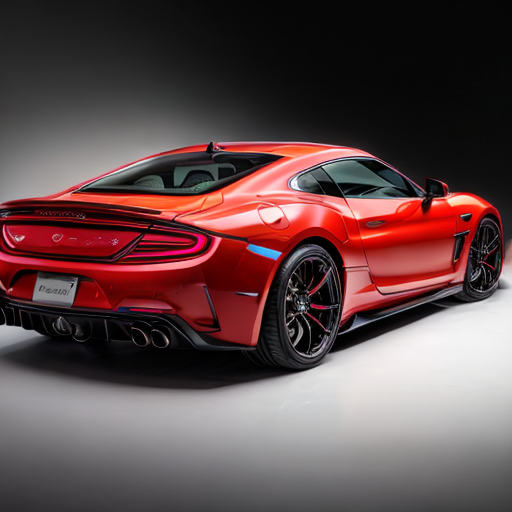
Easy Ways to Change the Color of Kids Car Toys
Understanding the Basics: Introduction to Changing the Color of Kids Car Toys
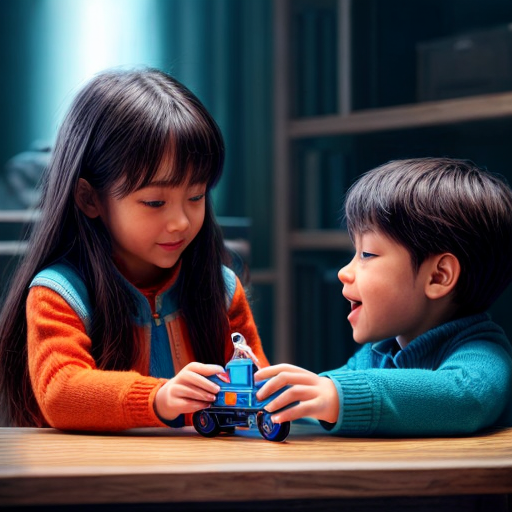
Are you a parent tired of endlessly searching for that one specific color of kids car toy your little one obsesses over? Fear not, my fellow frazzled moms and dads! Today, I shall be your guide into the marvelous world of transforming the color of those ever-so-precious mini automobiles. Grab your paintbrushes and prepare for a whirlwind adventure as we dive headfirst into the realm of hues and mischief. From brilliant blues to radiant reds, we shall unlock the secrets of changing the color of kids car toys faster than you can say, ‘where did all these paint stains come from?’ So, buckle up, folks, and get ready to revolutionize toy cars in a way only a dedicated and slightly mad parent can!
Preparing for the Transformation: Materials and Tools Needed for Coloring Kids Car Toys
Did you know that you can change the color of your kid’s car toys using the power of sunlight and science? With the help of a simple experiment called ‘photochromism,’ you can transform the appearance of certain toys. Photochromic pigments, found in some specially designed inks and paints, undergo a chemical reaction when exposed to ultraviolet (UV) light. When the toy cars are kept indoors or away from sunlight, they appear like their original color, but as soon as they are taken outside and exposed to UV rays, they magically transform into vibrant and different hues. This fascinating color changing effect adds an interactive and dynamic element to children’s playtime while teaching them a bit about the wonders of light and chemistry in a fun and engaging way!
So you’ve decided to embark on the colorful journey of transforming your kids’ car toys! Get ready for a wild ride filled with creativity and tiny paintbrushes. To begin, gather the necessary materials: an assortment of acrylic paints in vibrant shades, a palette or a plate for mixing colors (or use that leftover pizza slice if you’re feeling adventurous), a variety of paintbrushes ranging from fine to super-duper tiny, and don’t forget some good ol’ masking tape to protect wheels and windows from accidental paint jobs. Oh, and make sure to have a sense of humor handy; this transformation might involve a few accidental rainbow mishaps! So buckle up, fellow toy artist, and let’s paint those little cars into a world of technicolor joy!
Step-by-Step Guide: Techniques and Methods for Changing the Color of Kids Car Toys
Are you tired of staring at the same old boring kids car toys? Do you find yourself yearning for a dash of excitement and a burst of color in your little one’s toy collection? Well, look no further, my adventurous parents! I present to you a step-by-step guide on techniques and methods for changing the color of kids car toys that will unleash a tsunami of creativity and add a sprinkle of pizzazz to your child’s playtime.
First things first, grab those dull and lifeless car toys that are in desperate need of a makeover. Round them up, lay them out on a large table, and get ready to rock and roll. Now, take a deep breath and embrace your inner DIY superhero because things are about to get colorful!
Step one: Prep like a pro! Thoroughly clean your kiddo’s old toys, ensuring their surfaces are devoid of any dirt, grime, or remnants of sticky snacks from past play sessions. Think of it as a metaphorical cleanse for the toys’ souls, preparing them for this transformative journey that lies ahead.
Step two: Time to get artsy! Choose the color you want to give your toy cars—a bold red, a vibrant blue, or perhaps a neon green that can be spotted from space. The choice is yours, the world is your color palette. Now, grab some high-quality acrylic paint, paintbrushes of various sizes, and let your imagination run wild. Remember, this is not mere coloring; this is an artistic masterpiece in the making!
Step three: Lay the foundation. Apply a base coat of paint to each car toy, ensuring that the color is spread evenly across all surfaces. This step is essential as it provides a blank canvas for your artistic prowess to shine. Be patient, my fellow color enthusiasts, and let the paint dry completely before moving on to the next step.
Step four: Details, details, details! It’s time to add some personality to these now glossy car toys. Use smaller brushes or even toothpicks to add intricate designs, racing stripes, or funky patterns. You can also enlist your tiny tot’s help in this endeavor, turning it into a bonding experience filled with laughter and artistic collaboration. Who knows, the next Picasso may be hiding inside your little one!
Step five: Seal the deal. To ensure your masterpiece stands up to rough play, apply a protective clear coat. This step not only adds durability but also gives your toys a professional finish that will have other parents begging to know your secrets. It’s the kind of finishing touch that will make your child’s toy collection the talk of the town, or at least the talk of the playground!
And there you have it, my crafty comrades—a step-by-step guide to transforming those mundane kids car toys into vibrant kaleidoscopes of joy. With these techniques and methods, you’ll be the Picasso of the playroom, the Monet of mobility, and the Van Gogh of vehicular fun. So, gather your supplies, let your inner artist shine, and watch as your child’s face lights up with sheer glee at their revamped, infinitely more exciting car toy collection. Happy painting, and may the colors forever be in your favor!
Finishing Touches and Maintenance: Tips for Long-lasting Colorful Toys for Kids
Did you know that you can change the color of kids car toys using just nail polish? It’s like giving them a fabulous new paint job and a whole new identity!
Attention all parents! Have you ever wondered how to keep your kids’ car toys looking vibrant and colorful, even after countless crashes and high-speed adventures? Well, fear not! I’m here to share some quirky tips on giving your kids’ favorite car toys a fresh coat of color. First of all, forget about the traditional paintbrushes and opt for a more amusing approach. How about some finger painting with washable markers? Not only will this keep the little ones entertained, but it’ll also ensure that every inch of the car is covered in bright, eye-catching hues. Once the masterpiece is complete, the finishing touch is crucial. A generous layer of clear nail polish will not only protect the paintwork but also give the car toy an irresistible glossy finish that even the Fast and Furious crew would envy. So, go ahead, unleash your inner artist and let those toy cars become works of art that can conquer any road, no matter how bumpy or colorful it may be!

Frankie, a witty and vivacious woman blogger, possesses an infectious sense of humor that effortlessly shines through her writing. With an unwavering passion for toys and an innate ability to connect with children, she has carved a niche for herself in the blogosphere as the go-to source for all things playtime. Frankie's captivating storytelling and insightful reviews not only entertain her readers but also provide valuable guidance to parents seeking the perfect toys for their little ones. Her blog is a delightful blend of laughter, creativity, and genuine love for the world of toys, making Frankie an indispensable voice in the realm of children's play.